
Vim, short for Vi IMproved, is a highly configurable and powerful text editor that has been around for decades. It is designed for both programmers and sysadmins, making it a popular choice among Linux users. In this tutorial, we will guide you through the process of how to install Vim on your Rocky Linux system.
Prerequisites
Before we proceed, make sure you have:
- A Rocky Linux system installed and running.
- Root privileges or an account with sudo access.
Vim Command Not Found on Rocky Linux
If you have been using Rocky Linux and encountered the “vim command not found” error,
How to Install Vim on Rocky Linux
Update Your System
First, let’s ensure your system is up-to-date. Open a terminal and run the following command:
sudo dnf update -yThis will update all installed packages on your system.
Install Vim
To install Vim on your Rocky Linux system, run the following command:
sudo dnf install vim -y
This command will install Vim and its required dependencies.
Verify Vim Installation
After the installation is complete, you can verify that Vim has been installed correctly by checking its version:
vim --version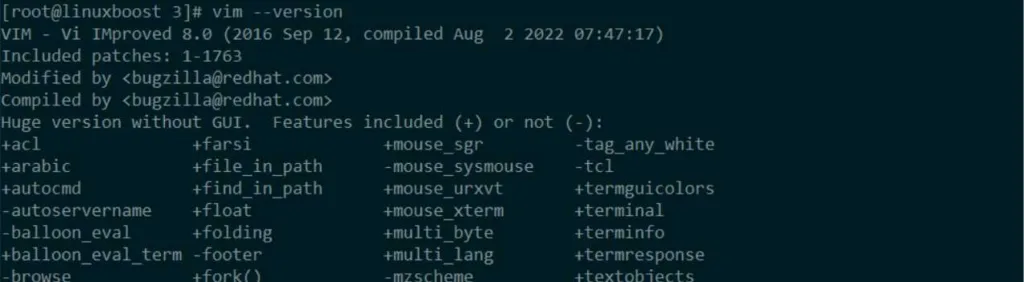
This will display the Vim version and its features.
Configure Vim (Optional)
Vim is highly configurable, and you can customize it to your liking. To do this, you’ll need to create and edit the .vimrc file in your home directory. Run the following command to create the file:
touch ~/.vimrcNow, open the .vimrc file with Vim:
vim ~/.vimrcYou can now add your preferred settings and customizations. For example, you may want to enable syntax highlighting, set the tab width, or enable line numbers. Here’s a sample configuration:
syntax on
set number
set tabstop=4
set expandtab
set autoindent
Save the file and exit Vim to apply the changes.
Mastering Vim
Vim can be challenging for beginners, but it’s worth learning. To start, you can run the built-in Vim tutor by typing the following command:
vimtutorThis interactive tutorial will guide you through the basics of Vim usage.
For more advanced use cases, you may want to explore additional Vim plugins or refer to the official Vim documentation.
Conclusion
Congratulations! You have successfully installed Vim on your Rocky Linux system. With Vim in your toolbox, you can now efficiently edit text files, manage configurations, and even develop code.
If you’re looking to expand your Linux skills further, check out our other tutorials on Rocky Linux, such as:
- How to Install Wget on Rocky Linux
- How to Install Ruby on Rocky Linux
- How to Set Up an OpenVPN Server on Rocky Linux
- How to Set Up a File Server on Rocky Linux
- How to Install KVM Virtualization on Rocky Linux
Keep learning and exploring the world of Linux!


