
OpenVPN is a popular open-source VPN solution that allows you to create a secure and encrypted connection between your devices and the internet. It is highly configurable and can be used for a wide range of applications, from bypassing geo-restrictions to securing your remote connections. Setting up an OpenVPN server on Rocky Linux is a straightforward process that provides you with a robust and secure VPN solution. In this article, we will guide you through the process of how to set up an OpenVPN server on your Rocky Linux server. By following this tutorial, you will be able to establish secure connections for your devices and protect your data from potential eavesdropping.
Prerequisites
Before we begin, you’ll need the following:
- A Rocky Linux server with root access
- A Public IP address for your server
- A working internet connection
How to Set Up an OpenVPN Server on Rocky Linux
Update the System
First, make sure your Rocky Linux system is up to date by running the following command:
sudo dnf update -yInstall OpenVPN and Easy-RSA
Install the OpenVPN package and Easy-RSA (a tool for generating SSL certificates and keys) by running the following commands:
sudo dnf install -y epel-release
sudo dnf install -y openvpn easy-rsa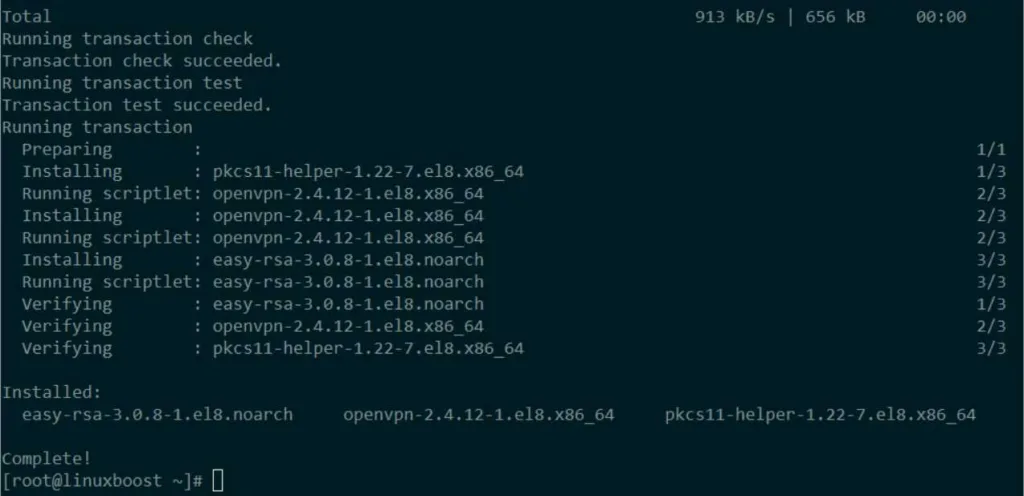
Generate SSL Certificates and Keys
Navigate to the Easy-RSA directory and create a new directory for your keys:
cd /usr/share/easy-rsa/3/
./easyrsa init-pki
Generate a Certificate Authority (CA):
./easyrsa build-ca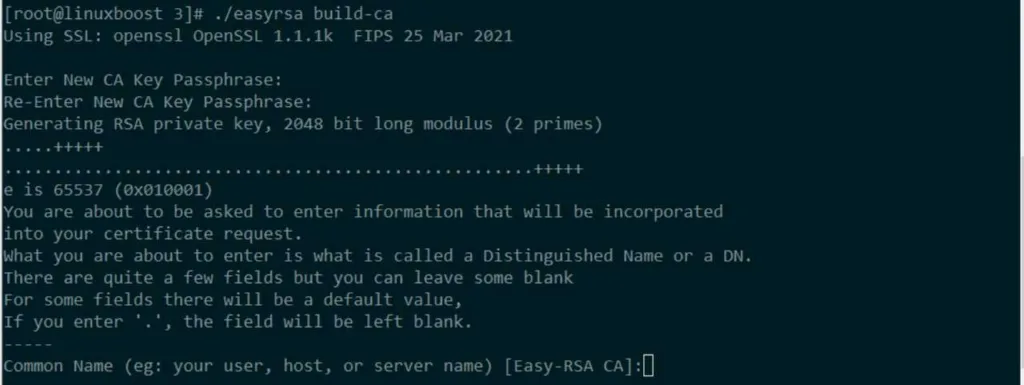
Next, generate the server certificate and key:
./easyrsa build-server-full server nopassFinally, generate the Diffie-Hellman key exchange parameters:
./easyrsa gen-dhConfigure OpenVPN
Copy the generated certificates and keys to the OpenVPN configuration directory:
sudo cp pki/ca.crt pki/issued/server.crt pki/private/server.key /etc/openvpn/server/
sudo cp pki/dh.pem /etc/openvpn/server/
Create a new OpenVPN server configuration file:
sudo nano /etc/openvpn/server/server.confPaste the following configuration and save the file:
port 1194
proto udp
dev tun
ca /etc/openvpn/server/ca.crt
cert /etc/openvpn/server/server.crt
key /etc/openvpn/server/server.key
dh /etc/openvpn/server/dh.pem
server 10.8.0.0 255.255.255.0
push "redirect-gateway def1 bypass-dhcp"
push "dhcp-option DNS 208.67.222.222"
push "dhcp-option DNS 208.67.220.220"
keepalive 10 120
cipher AES-256-CBC
user openvpn
group openvpn
persist-key
persist-tun
status /var/log/openvpn/openvpn-status.log
log /var/log/openvpn/openvpn.log
verb 3
Enable IP Forwarding
Enable IP forwarding by editing the sysctl.conf file:
sudo nano /etc/sysctl.confAdd the following line at the end of the file:
net.ipv4.ip_forward = 1Apply the changes:
sudo sysctl -pConfigure Firewall Rules
Allow the OpenVPN traffic through the firewall by running the following commands:
sudo firewall-cmd --add-service=openvpn --permanent
sudo firewall-cmd --add-masquerade --permanent
sudo firewall-cmd --reload
Start and Enable OpenVPN Service
Start and enable the OpenVPN service:
sudo systemctl start openvpn-server@server
sudo systemctl enable openvpn-server@server
Check the status of the OpenVPN service to ensure it is running:
sudo systemctl status openvpn-server@serverCreate Client Configuration Files
Create a new directory for the client configuration files:
sudo mkdir /etc/openvpn/client-configsGenerate a client certificate and key:
cd /usr/share/easy-rsa/3/
./easyrsa build-client-full client1 nopass
Create a client configuration file:
sudo nano /etc/openvpn/client-configs/client1.ovpnPaste the following configuration into the file, replacing {server-public-ip} with your server’s public IP address:
client
dev tun
proto udp
remote {server-public-ip} 1194
resolv-retry infinite
nobind
persist-key
persist-tun
remote-cert-tls server
cipher AES-256-CBC
verb 3

<ca>
Now, append the contents of the ca.crt, client1.crt, and client1.key files to the client configuration file:
sudo cat /usr/share/easy-rsa/3/pki/ca.crt | sudo tee -a /etc/openvpn/client-configs/client1.ovpn
echo '</ca>' | sudo tee -a /etc/openvpn/client-configs/client1.ovpn
echo '<cert>' | sudo tee -a /etc/openvpn/client-configs/client1.ovpn
sudo cat /usr/share/easy-rsa/3/pki/issued/client1.crt | sudo tee -a /etc/openvpn/client-configs/client1.ovpn
echo '</cert>' | sudo tee -a /etc/openvpn/client-configs/client1.ovpn
echo '<key>' | sudo tee -a /etc/openvpn/client-configs/client1.ovpn
sudo cat /usr/share/easy-rsa/3/pki/private/client1.key | sudo tee -a /etc/openvpn/client-configs/client1.ovpn
echo '</key>' | sudo tee -a /etc/openvpn/client-configs/client1.ovpn
Distribute Client Configuration Files
Securely transfer the client configuration files to your client devices, such as a laptop or smartphone, using a method like SCP, SFTP, or a USB drive.
For example, to transfer the file using SCP from your local machine, run:
scp user@your-server-ip:/etc/openvpn/client-configs/client1.ovpn /local/path/to/save/client1.ovpnConnect to the OpenVPN Server
Install an OpenVPN client on your device and import the client1.ovpn configuration file. Once imported, connect to the OpenVPN server. The connection process varies depending on your device and OpenVPN client.
Now, your OpenVPN server is up and running on Rocky Linux. You can create additional client configuration files for other devices by repeating Steps 8 and 9. To enhance your server capabilities, you can also explore other tutorials, such as setting up a file server, installing a DNS server, or installing a LAMP stack.


