Setting up a file server on Rocky Linux can be a seamless process if you follow the right steps. In this tutorial, we’ll guide you on How to Set Up a File Server on Rocky Linux through the entire process, from installing necessary packages to configuring your server for secure file sharing. So, let’s dive in!
How to Set Up a File Server on Rocky Linux
Prerequisites
Before we begin, make sure your Rocky Linux system is up-to-date with the latest packages by running the following command:
sudo dnf update -yNow that your system is updated, let’s start setting up your file server.
Choose the File Sharing Protocol
There are several file-sharing protocols available for Linux, but we will focus on two popular options: Samba (for sharing files with Windows systems) and NFS (for sharing files with other Linux systems).
Samba
Samba is a widely-used protocol for sharing files between Linux and Windows systems. To install the Samba server, run the following command:
sudo dnf install samba -y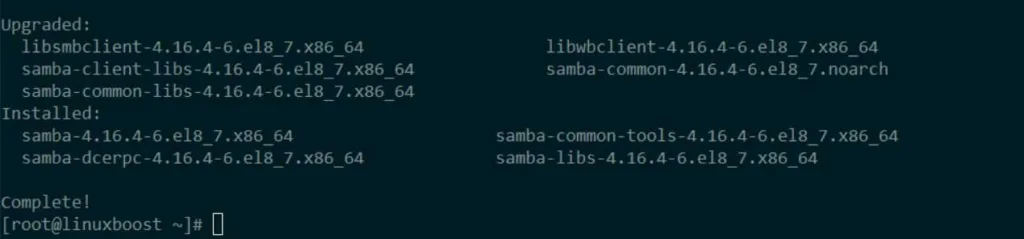
NFS
NFS (Network File System) is a protocol used for sharing files between Linux systems. To install the NFS server, run the following command:
sudo dnf install nfs-utils -yConfigure File Sharing on Rocky Linux
Once you’ve chosen and installed your preferred file-sharing protocol, you need to configure the server for sharing.
Configuring Samba
Create a new directory for sharing:
sudo mkdir /srv/sambaSet the appropriate permissions:
sudo chown nobody:nobody /srv/samba
sudo chmod 0777 /srv/samba
Open the Samba configuration file using your preferred text editor (e.g., nano or vim):
sudo nano /etc/samba/smb.confAdd the following lines at the end of the file:
[public]
   path = /srv/samba
   writable = yes
   guest ok = yes
   guest only = yes
   read only = no
   force create mode = 0777
   force directory mode = 0777
   browseable = yes
Save the file and restart the Samba server:
sudo systemctl restart smbFinally, enable the Samba server to start on boot:
sudo systemctl enable smbConfiguring NFS on Rocky Linux
Create a new directory for sharing:
sudo mkdir /srv/nfsSet the appropriate permissions:
sudo chown nobody:nobody /srv/nfs
sudo chmod 0777 /srv/nfs
Edit the NFS exports file using your preferred text editor (e.g., nano or vim):
sudo nano /etc/exportsAdd the following line at the end of the file:
/srv/nfs *(rw,sync,no_root_squash,no_subtree_check)Save the file and restart the NFS server:
sudo systemctl restart nfs-serverFinally, enable the NFS server to start on boot:
sudo systemctl enable nfs-serverSet Up RAID for Better Data Protection
RAID (Redundant Array of Independent Disks) is a method of combining multiple storage devices into a single unit for better performance and data protection. You can set up RAID on your file server for increased reliability. Check out our guides on how to set up RAID 1, RAID 5, RAID 6, and RAID 10 on Rocky Linux for more information on how to configure RAID for your file server.
Configure Firewall and SELinux
To ensure your file server is secure and accessible, you’ll need to configure the firewall and SELinux.
Firewall
For Samba, open the necessary ports by running:
sudo firewall-cmd --add-service=samba --permanent
sudo firewall-cmd --reload
For NFS, open the necessary ports by running:
sudo firewall-cmd --add-service=nfs --add-service=mountd --add-service=rpc-bind --permanent
sudo firewall-cmd --reload
SELinux
For Samba, configure SELinux by running:
sudo setsebool -P samba_export_all_rw onFor NFS, configure SELinux by running:
sudo setsebool -P nfs_export_all_rw onTest Your File Server
Now that everything is set up, it’s time to test your file server.
Testing Samba
From a Windows client, open File Explorer and enter the following into the address bar, replacing “your_server_ip” with your file server’s IP address:
\\your_server_ip\publicYou should now see the shared folder and be able to create, modify, and delete files within it.
Testing NFS
From a Linux client, install the NFS client utilities by running:
sudo dnf install nfs-utils -yCreate a mount point and mount the shared folder, replacing “your_server_ip” with your file server’s IP address:
sudo mkdir /mnt/nfs_share
sudo mount your_server_ip:/srv/nfs /mnt/nfs_share
You should now see the shared folder and be able to create, modify, and delete files within it.
Conclusion
Congratulations! You’ve successfully set up a file server on Rocky Linux. With Samba or NFS, you can now share files with other systems on your network. Don’t forget to explore different RAID configurations to enhance your server’s performance and data protection.
If you’re interested in learning more about setting up various services on Rocky Linux, check out our other guides on how to install an FTP server, how to install a LAMP stack, or how to install a DNS server.


