LAMP (Linux, Apache, MySQL, PHP) stack is a popular, open-source web development platform that enables you to create dynamic web applications. In this tutorial, we’ll guide you through the process of how to install and configure LAMP Stack on Rocky Linux, a popular enterprise Linux distribution.
Table of Contents
- Update the System
- Install Apache
- Install MySQL
- Install PHP
- Configure LAMP Stack
- Test LAMP Stack
How to Install and Configure LAMP Stack on Rocky Linux
1. Update the System
Before installing LAMP Stack, it’s essential to update your Rocky Linux system. Open a terminal and run the following command to update all installed packages:
sudo dnf update -y2. Install Apache
Apache is the most widely used web server software. To install Apache on your Rocky Linux system, execute the following command:
sudo dnf install httpd -y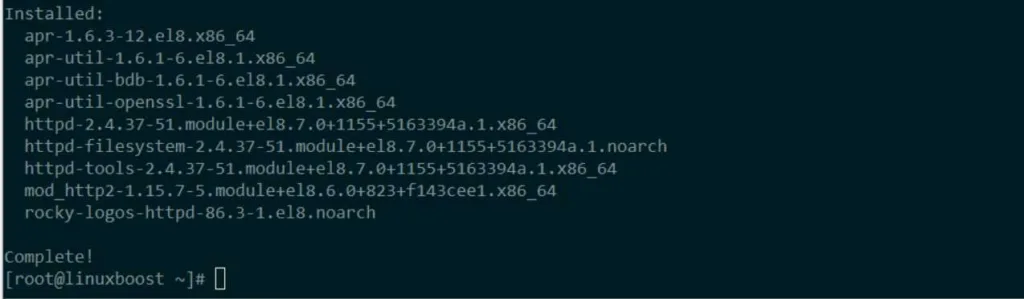
After installation, enable and start the Apache service with these commands:
sudo systemctl enable httpd
sudo systemctl start httpd
To verify that Apache is running, open your web browser and navigate to http://localhost or http://your_server_IP. You should see the Apache test page.
3. Install MySQL
MySQL is a widely used, open-source relational database management system. You can install MySQL by adding the MySQL repository to your system, and then installing the MySQL server package. Run the following commands to install MySQL on Rocky Linux:
sudo dnf install https://dev.mysql.com/get/mysql80-community-release-el8-1.noarch.rpm -y
sudo dnf install mysql-community-server -y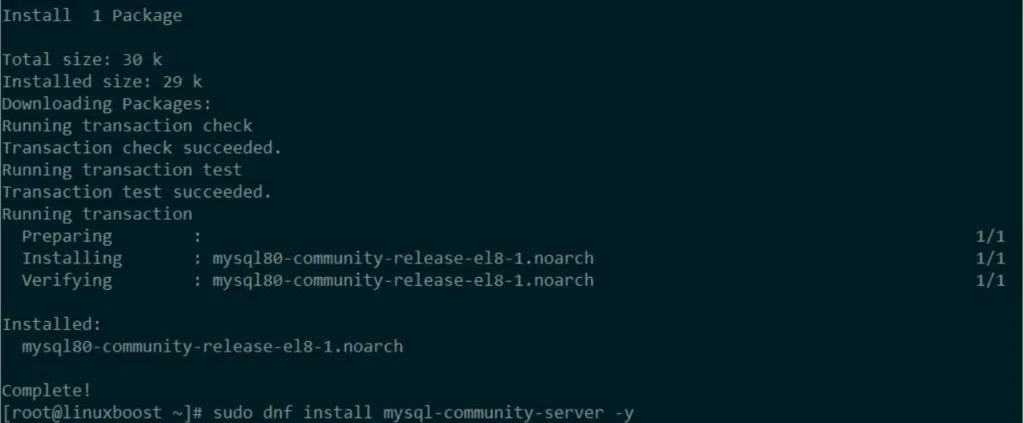
After installation, enable and start the MySQL service:
sudo systemctl enable mysqld
sudo systemctl start mysqld
To secure your MySQL installation, execute the following command and follow the prompts:
sudo mysql_secure_installation4. Install PHP
PHP is a popular server-side scripting language. To install PHP and its extensions, run the following command:
sudo dnf install php php-mysqlnd php-fpm php-cli php-common -y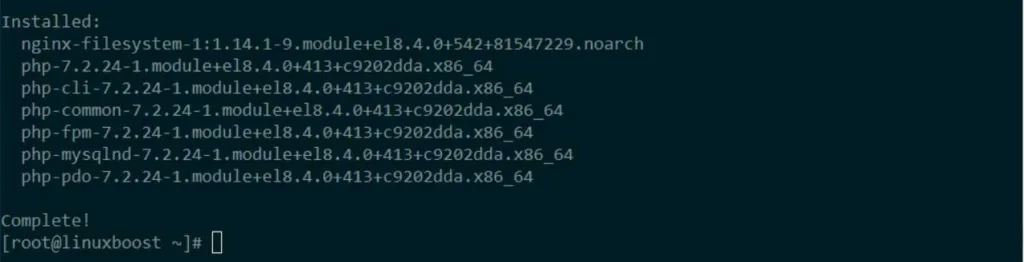
Now, enable and start the PHP-FPM service:
sudo systemctl enable php-fpm
sudo systemctl start php-fpm
5. Configure LAMP Stack
To configure the LAMP Stack, follow these steps:
- Open the Apache configuration file:
sudo vim /etc/httpd/conf.d/php.conf- Uncomment the following lines:
# SetHandler "proxy:unix:/run/php-fpm/www.sock|fcgi://localhost"- Restart the Apache and PHP-FPM services:
sudo systemctl restart httpd
sudo systemctl restart php-fpm
6. Test LAMP Stack
To test your LAMP Stack, create a PHP file in the Apache document root:
echo "<?php phpinfo(); ?>" | sudo tee /var/www/html/info.phpNow, open your web browser and navigate to http://localhost/info.php or http://your_server_IP/info.php. You should see the PHP information page displaying the current PHP version, configuration, and additional details.
Conclusion
Congratulations! You have successfully installed and configured a LAMP Stack on Rocky Linux. This setup enables you to host and develop web applications using Apache, MySQL, and PHP. Remember to secure your server and maintain it regularly.
If you’re interested in other tutorials for Rocky Linux, consider checking out these guides:
- How to Install PowerDNS Server on Rocky Linux
- How to Install KVM Virtualization on Rocky Linux
- How to Install BIND DNS Server on Rocky Linux
- How to Install VirtualBox on Rocky Linux
- How to Install PostgreSQL on Rocky Linux
With your LAMP Stack now set up, you can start building powerful web applications and explore more advanced configurations and optimizations for your server.


