
In this tutorial, we will walk you through the process of how to install PostgreSQL on Rocky Linux system. PostgreSQL is a powerful, open-source relational database management system that offers a high degree of scalability, reliability, and performance. It is used by many organizations worldwide, including Apple, Cisco, Fujitsu, and the U.S. Federal Aviation Administration.
Table of Contents
- Prerequisites
- Installing PostgreSQL
- Configuring PostgreSQL
- Securing Your PostgreSQL Installation
- Managing PostgreSQL
- Conclusion
Prerequisites
Before we begin, ensure that you have:
- A running Rocky Linux system
- A user account with sudo privileges
- A stable internet connection
You may also want to familiarize yourself with some basic Linux commands and operations. If you’re new to Rocky Linux, check out our other tutorials on how to manage LVM volumes on Rocky Linux and how to set up a cron job on Rocky Linux.
How to Install PostgreSQL on Rocky Linux
Installing PostgreSQL
- First, update your system packages by running:
sudo dnf update -y- Next, install the PostgreSQL repository by executing the following command:
sudo dnf install -y https://download.postgresql.org/pub/repos/yum/reporpms/EL-8-x86_64/pgdg-redhat-repo-latest.noarch.rpm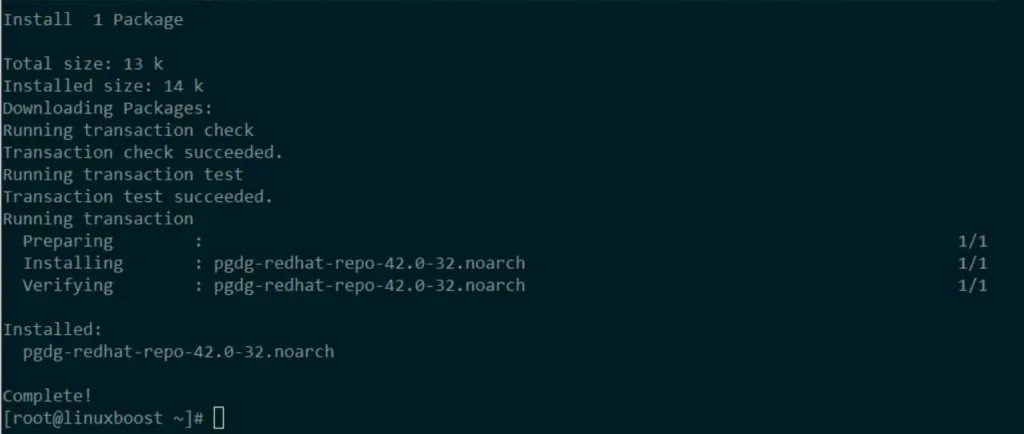
- With the repository in place, install PostgreSQL using the dnf package manager:
sudo dnf install -y postgresql-server
- Once the installation is complete, finally enable and start the PostgreSQL service:
sudo systemctl enable postgresql
sudo systemctl start postgresql
Configuring PostgreSQL on Rocky Linux
- Open the main PostgreSQL configuration file with your preferred text editor:
sudo vim /var/lib/pgsql/data/postgresql.conf- Modify the
listen_addressesparameter to allow remote connections. For example, to allow connections from any IP address, set the value to'*':
listen_addresses = '*'- Save the file and exit the text editor.
- Next, open the pg_hba.conf file to configure client authentication:
sudo vim /var/lib/pgsql/data/pg_hba.conf- Add the following line at the end of the file to allow connections from your desired IP range. Replace
192.168.1.0/24with your desired IP range:
host all all 192.168.1.0/24 md5- Save the file and exit the text editor.
- Restart the PostgreSQL service to apply the changes:
sudo systemctl restart postgresqlSecuring Your PostgreSQL Installation
- Switch to the
postgresuser account:
sudo su - postgres- Run the
psqlcommand-line interface to interact with the PostgreSQL server:
psql- Set a strong password for the
postgresuser within thepsqlinterface:
ALTER USER postgres WITH PASSWORD 'your_secure_password';Replace your_secure_password with a strong, unique password.
- Exit the
psqlinterface by typing:
\q- Return to your regular user account:
exitManaging PostgreSQL on Rocky Linux
Here are some essential PostgreSQL commands you should know:
- To create a new database:
sudo -u postgres createdb new_database_name- To create a new user:
sudo -u postgres createuser new_user_name- To grant all privileges on a specific database to a user:
sudo -u postgres psql -c "GRANT ALL PRIVILEGES ON DATABASE database_name TO user_name;"- To delete a database:
sudo -u postgres dropdb database_name- To delete a user:
sudo -u postgres dropuser user_nameFor more advanced PostgreSQL management, refer to the official PostgreSQL documentation.
Conclusion
Congratulations! You have successfully installed and configured PostgreSQL on your Rocky Linux system. You can now build and manage databases to support your applications.
If you’re looking to further enhance your Linux skills or explore other tutorials, be sure to check out our guides on how to install mdadm on Rocky Linux and how to set up RAID 1 on Rocky Linux.


