
In this comprehensive guide, we’ll walk you through the process of how to install wget on your Rocky Linux system. Wget is a versatile, non-interactive command-line utility that allows you to download files over the internet using HTTP, HTTPS, and FTP protocols. It’s a must-have tool for any Linux enthusiast or system administrator who frequently downloads files from the internet.
Prerequisites
Before we dive into the installation process, make sure you have:
- A Rocky Linux system with root access or a user account with
sudoprivileges. - A stable internet connection.
wget Command Not Found on Rocky Linux
If you’ve been working with Rocky Linux and stumbled upon the “wget command not found” error,
How to Install wget on Rocky Linux
Update Your System
First, let’s update your system to ensure that all packages are up-to-date. Open your terminal and run the following command:
sudo dnf update -yThis will fetch the latest package information and update your system accordingly.
Install wget
Once your system is updated, you can proceed to install wget. It’s available in the default Rocky Linux repositories, so you can easily install it using the dnf package manager. Run the following command:
sudo dnf install wget -y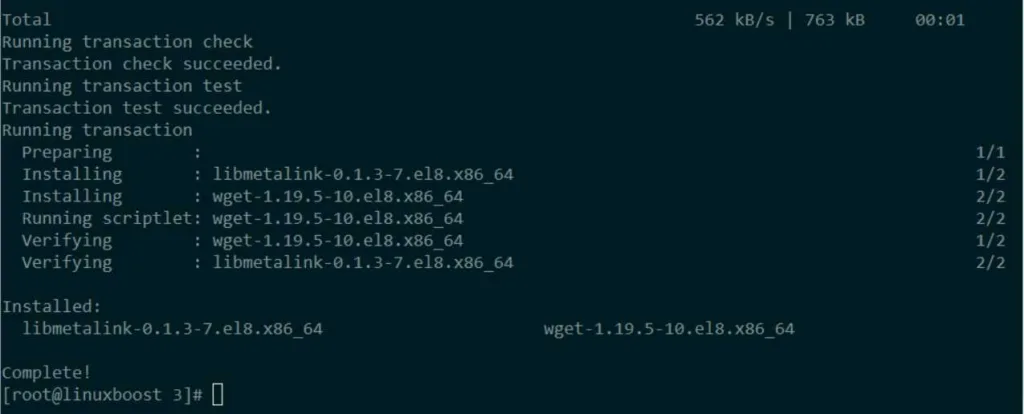
This command will download and install wget along with its dependencies.
Verify wget Installation
To make sure that wget has been installed correctly, you can check its version by running:
wget --version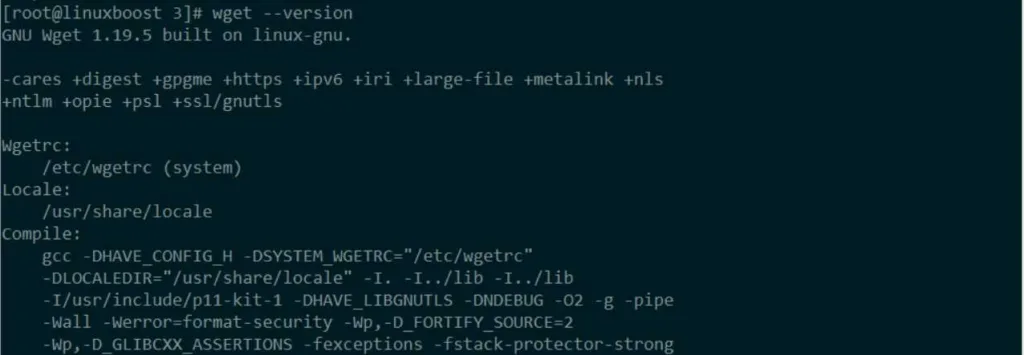
If the installation was successful, you’ll see the wget version number and additional information.
Basic wget Usage
Now that you have wget installed on your Rocky Linux system, let’s go through some basic usage examples.
Downloading a Single File
To download a single file, use the following command syntax:
wget [URL]Replace [URL] with the actual URL of the file you want to download.
Downloading Files in the Background
If you want to download a file in the background, use the -b option:
wget -b [URL]This will run the download process in the background, freeing up your terminal for other tasks.
Resuming an Interrupted Download
If your download is interrupted, you can resume it using the -c option:
wget -c [URL]Wget will continue the download from where it left off.
Additional Resources
Wget is a powerful tool with numerous features and options. To learn more about what you can do with wget, check out its man page by running man wget or visit the official GNU wget documentation.
For more helpful Linux tutorials, check out the following articles:
- How to Install Ruby on Rocky Linux
- How to Set Up an OpenVPN Server on Rocky Linux
- How to Install KVM Virtualization on Rocky Linux
- How to Install PostgreSQL on Rocky Linux
- How to Install VirtualBox on Rocky Linux
That’s it! You now know how to install and use wget on your Rocky Linux system. Whether you’re a developer or a system administrator, wget is an essential tool to have in your Linux toolkit.


