
Virtualbox is a popular, open-source virtualization software that allows you to create and manage virtual machines (VMs) on your system. It is an excellent tool for developers, IT professionals, and enthusiasts who need to run multiple operating systems on a single host. In this comprehensive guide, we’ll walk you through the process of how to install Virtualbox on Rocky Linux, an emerging Linux distribution that is gaining popularity for its stability and reliability.
Prerequisites
Before you start installing Virtualbox, ensure that your system meets the following requirements:
- A Rocky Linux system with a user account that has sudo privileges
- A stable internet connection for downloading packages
How to Install Virtualbox on Rocky Linux
Step 1: Update Your System
To begin, update your system by running the following command:
sudo dnf update -yThis will ensure that your system is up to date with the latest packages and security patches.
Step 2: Install Required Packages
Virtualbox requires some additional packages to function correctly. Install the required packages by running the following command:
sudo dnf install -y gcc make perl kernel-devel kernel-headers elfutils-libelf-develThese packages provide the necessary tools and libraries to build and run Virtualbox on Rocky Linux.
Step 3: Add Virtualbox Repository
To install Virtualbox, you’ll need to add its repository to your system. Create a new repository file by running the following command:
sudo vi /etc/yum.repos.d/virtualbox.repoAdd the following content to the virtualbox.repo file:
[virtualbox]
name=Oracle Virtualbox Repository
baseurl=http://download.virtualbox.org/virtualbox/rpm/el/$releasever/$basearch
enabled=1
gpgcheck=1
repo_gpgcheck=1
gpgkey=https://www.virtualbox.org/download/oracle_vbox.asc
Save and exit the file.
Step 4: Install Virtualbox
With the repository added, install Virtualbox by running the following command:
sudo dnf install -y VirtualBox-6.1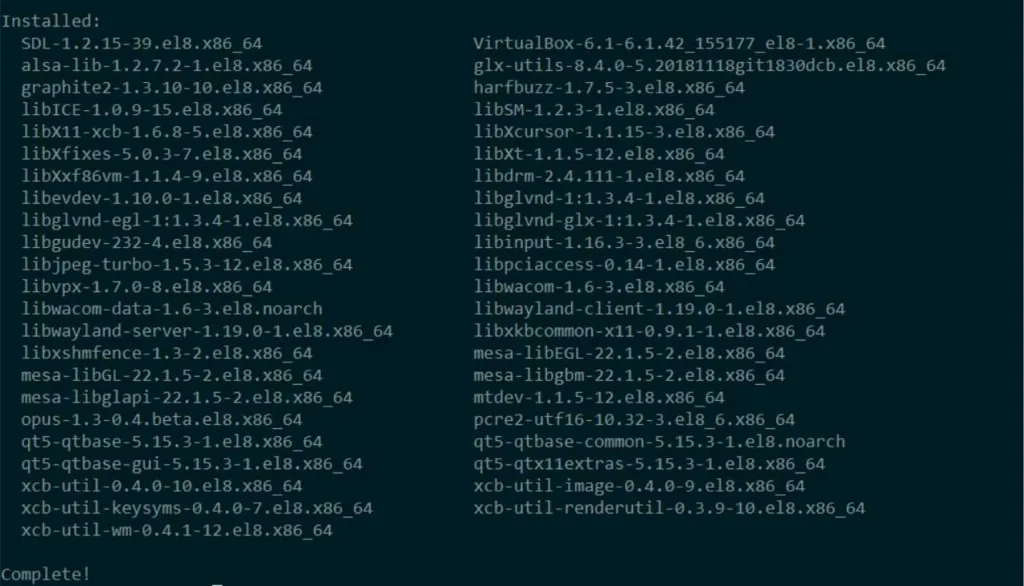
This command will install the latest version of Virtualbox (6.1) on your system.
Step 5: Add Your User to the vboxusers Group
To manage Virtualbox VMs, your user account must be a member of the vboxusers group. Add your user to the group by running the following command:
sudo usermod -aG vboxusers $USERLog out and log back in for the changes to take effect.
Step 6: Start and Enable Virtualbox Service
Enable and start the Virtualbox service by running the following commands:
sudo systemctl enable vboxdrv
sudo systemctl start vboxdrv
These commands will ensure that the Virtualbox service starts automatically when your system boots.
Step 7: Launch Virtualbox
You can now launch Virtualbox from the application menu or by running the following command:
virtualboxCongratulations! You’ve successfully installed Virtualbox on Rocky Linux. You can now create and manage virtual machines to suit your needs. For more information on using Virtualbox, consult the official Virtualbox documentation.
If you’re interested in exploring more about Rocky Linux, check out some of our other articles:
- How to Manage LVM Volumes on Rocky Linux
- How to Set Up a Cron Job on Rocky Linux
- How to Install MDADM on Rocky Linux
For those who are curious about RAID configurations, we also have in-depth articles on different RAID levels and their performance:
- Differences Between RAID 1 and RAID 0
- Differences Between RAID 5 and RAID 6
- Differences Between RAID 6 and RAID 10 in Performance
- Differences Between RAID 5 and RAID 10 in Performance
- Differences Between Software RAID vs Hardware RAID
Rocky Linux is an excellent choice for users who value stability and enterprise-level support. With the addition of Virtualbox, you can now experiment with various operating systems and configurations without the need for additional hardware. Whether you’re a developer testing new software or an IT professional managing multiple environments, Virtualbox on Rocky Linux provides a versatile solution for virtualization.
As you continue to explore the world of Linux, consider checking out our articles on other Linux distributions, such as openSUSE, and the various tasks you can accomplish with them. By expanding your knowledge and skills, you’ll be better prepared to handle any challenge that comes your way in the ever-changing world of technology.


