PostgreSQL is a powerful, enterprise-class open-source relational database system that boasts a strong reputation for performance, stability, and correctness. In this tutorial, we’ll guide you through the process of how to install PostgreSQL on OpenSUSE, step by step. By the end of this guide, you’ll have a fully functional PostgreSQL installation on your OpenSUSE system.
How to Install PostgreSQL on OpenSUSE
Prerequisites
Before we start, make sure you have root access or administrative privileges on your OpenSUSE machine. If you haven’t set up your OpenSUSE system yet, check out some of our other tutorials to get started:
- How to Install VirtualBox on OpenSUSE
- How to Install LAMP Stack on OpenSUSE
- How to Install Python on OpenSUSE
Update Your System
First, make sure your system is up-to-date by running the following command:
sudo zypper updateInstall PostgreSQL on OpenSUSE
Next, install PostgreSQL by running the following command:
sudo zypper install postgresql postgresql-server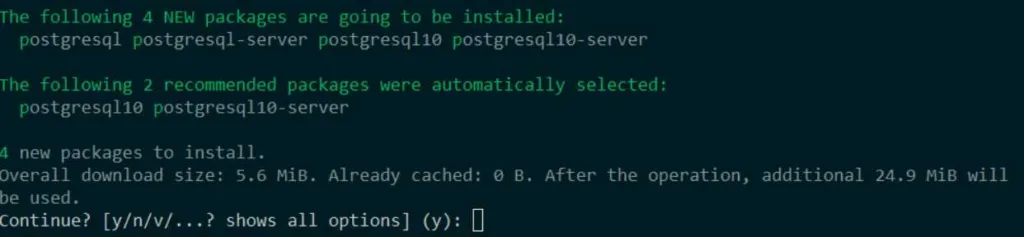
Initialize PostgreSQL Database
Once PostgreSQL is installed, you need to initialize the database. Run the following command to do so:
sudo systemctl enable postgresql
sudo systemctl start postgresql
Create a PostgreSQL User and Database
By default, PostgreSQL creates a user named postgres with administrative privileges. You can use this user to create other users and databases. First, switch to the postgres user:
sudo su - postgresNext, create a new user with the createuser command. Replace my_user with your desired username:
createuser -P my_userYou will be prompted to enter and confirm a password for the new user.
Now that you have a user, create a new database and grant the user access to it. Replace my_db with your desired database name:
createdb -O my_user my_dbTo exit the postgres user session, type exit and press Enter.
Configure PostgreSQL
To allow remote connections to your PostgreSQL server, you’ll need to modify the postgresql.conf and pg_hba.conf files. First, open the postgresql.conf file using your preferred text editor:
sudo vim /var/lib/pgsql/data/postgresql.confFind the line that starts with #listen_addresses = 'localhost' and change it to:
listen_addresses = '*'Save and exit the file.
Next, open the pg_hba.conf file:
sudo vim /var/lib/pgsql/data/pg_hba.confAdd the following line at the end of the file to allow connections from any IP address:
host all all 0.0.0.0/0 md5Save and exit the file.
Finally, restart the PostgreSQL service to apply the changes:
sudo systemctl restart postgresqlTest Your PostgreSQL Installation
Now that we’ve successfully installed PostgreSQL, it’s time to test our installation and ensure everything is working as expected. Let’s begin by connecting to the PostgreSQL server using the psql command-line utility.
- Start by switching to the
postgresuser:
sudo su - postgresLaunch the psql utility:
psqlYou should see the postgres=# prompt, indicating that you’re connected to the PostgreSQL server.
Perform a simple query to verify that the server is operational:
SELECT version();This query will display the PostgreSQL version you have installed.
To exit the psql utility, type the following command:
\qFinally, switch back to your regular user account by typing exit and pressing Enter.
Congratulations! You’ve successfully installed and tested PostgreSQL on your OpenSUSE system. You’re now ready to start using PostgreSQL for your database needs. To further enhance your OpenSUSE server, you can explore other tutorials such as:
- How to install BIND DNS server on OpenSUSE
- How to set up IP aliasing on OpenSUSE
- How to install PHP on OpenSUSE
- How to install Nginx on OpenSUSE
With a well-rounded set of tools and services at your disposal, you’ll be well-equipped to tackle a variety of projects and tasks on your OpenSUSE system.


