In this comprehensive guide, we will walk you through the process of how to install Nginx on Rocky Linux. Nginx is a popular, high-performance web server, reverse proxy, and load balancer. It is known for its stability, rich feature set, simple configuration, and low resource consumption.
Table of Contents
- Prerequisites
- Updating Your System
- Installing Nginx
- Starting and Enabling Nginx
- Configuring Firewall
- Testing Nginx Installation
- Conclusion
Prerequisites
Before proceeding with the installation, ensure that you have:
- A Rocky Linux system with sudo or root access
- A stable internet connection
How to Install Nginx on Rocky Linux
Updating Your System
Start by updating your system packages to the latest versions. This is an essential step to ensure you are working with the most recent and stable software. To update your system, run the following command:
sudo dnf update -yInstalling Nginx
Once your system is updated, you can install Nginx from the default Rocky Linux repositories using the dnf package manager. Execute the following command:
sudo dnf install nginx -y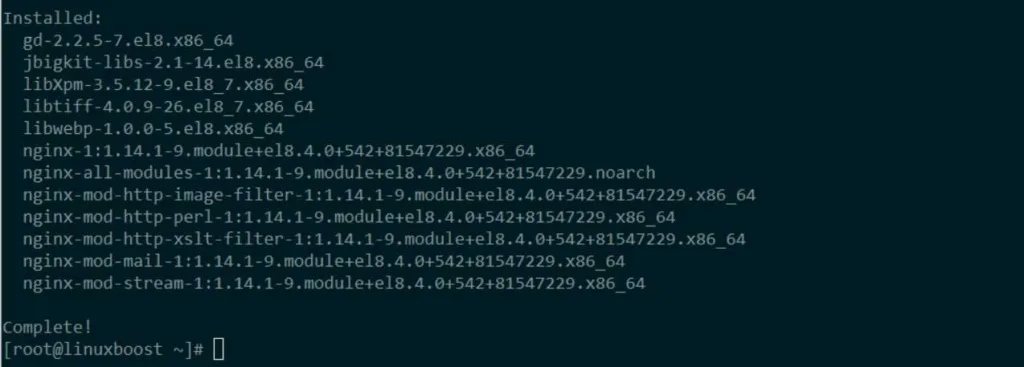
After the installation is complete, you can check the Nginx version to confirm it is installed correctly:
nginx -vStarting and Enabling Nginx
With Nginx installed, you need to start the Nginx service and enable it to run automatically at system startup. Run the following commands:
sudo systemctl start nginx
sudo systemctl enable nginx
Configuring Firewall
To allow incoming traffic on HTTP (port 80) and HTTPS (port 443), you must configure the firewall. We assume you have firewalld installed and running; if not, check our guide on how to install CSF on Rocky Linux.
Run the following commands to open the necessary ports:
sudo firewall-cmd --add-service=http --permanent
sudo firewall-cmd --add-service=https --permanent
sudo firewall-cmd --reload
Testing Nginx Installation
To verify that Nginx is running correctly, open your web browser and navigate to your server’s IP address or domain name. You should see the default Nginx welcome page.
If you are unsure about your server’s IP address, you can use the following command to find it:
ip addrConfiguring Nginx
Now that Nginx is up and running, you can start configuring it to host your websites. Nginx’s main configuration file is located at /etc/nginx/nginx.conf. You can create individual configuration files for each site in the /etc/nginx/conf.d directory.
To host a website, create a new configuration file for the site:
sudo vim /etc/nginx/conf.d/your-domain.confReplace your-domain with your actual domain name. Add the following configuration, replacing the placeholders with your own values:
server {
    listen 80;
    server_name your-domain.com www.your-domain.com;
    root /var/www/your-domain.com/html;
    index index.html index.htm;

    location / {
        try_files $uri $uri/ =404;
    }
}
Save and close the file. Next, create the document root directory for your website:
sudo mkdir -p /var/www/your-domain.com/htmlNow, create a simple index.html file for testing purposes:
echo "Hello, World! This is your-domain.com" | sudo tee /var/www/your-domain.com/html/index.htmlRemember to replace your-domain.com with your actual domain name. After creating the index.html file, set the appropriate permissions for the document root directory:
sudo chown -R nginx:nginx /var/www/your-domain.com
sudo chmod -R 755 /var/www/your-domain.com
With the configuration file in place and the document root directory set up, you can now test the Nginx configuration for syntax errors:
sudo nginx -tIf there are no errors, you should see a message indicating that the configuration is correct:
nginx: configuration file /etc/nginx/nginx.conf test is successfulFinally, restart the Nginx service to apply the changes:
sudo systemctl restart nginxNow, open your web browser and navigate to your domain name. You should see the “Hello, World!” message you created earlier.
Securing Nginx with SSL
To secure your website with an SSL certificate, you can use Let’s Encrypt, a free, automated, and open certificate authority. Follow our guide on how to install and configure LAMP stack on Rocky Linux to set up Let’s Encrypt on your server.
Conclusion
Congratulations! You have successfully installed and configured Nginx on Rocky Linux. With Nginx, you can now host multiple websites on your server and benefit from its high-performance capabilities. To further enhance your server, consider exploring other tutorials such as how to install MySQL on Rocky Linux, how to install PHP on Rocky Linux, and how to install Git on Rocky Linux.


