
MongoDB is an open-source, document-oriented NoSQL database that offers high performance, availability, and scalability. This tutorial will guide you through the process of how to install MongoDB on Rocky Linux. It’s perfect for developers looking for a powerful, flexible, and easy-to-use database solution.
Prerequisites
Before we begin, ensure that you have:
- A Rocky Linux system up and running
- Root or sudo user access
How to Install MongoDB on Rocky Linux
Configure MongoDB Repository
First, let’s create a new repository file for MongoDB by issuing the following command:
sudo nano /etc/yum.repos.d/mongodb-org.repoPaste the following content into the newly created file:
[mongodb-org-5.0]
name=MongoDB Repository
baseurl=https://repo.mongodb.org/yum/redhat/$releasever/mongodb-org/5.0/x86_64/
gpgcheck=1
enabled=1
gpgkey=https://www.mongodb.org/static/pgp/server-5.0.asc
Save and exit the file by pressing Ctrl + X, followed by Y, then Enter.
Install MongoDB on Rocky Linux
With the repository configured, we can now proceed to install MongoDB by running:
sudo dnf install -y mongodb-org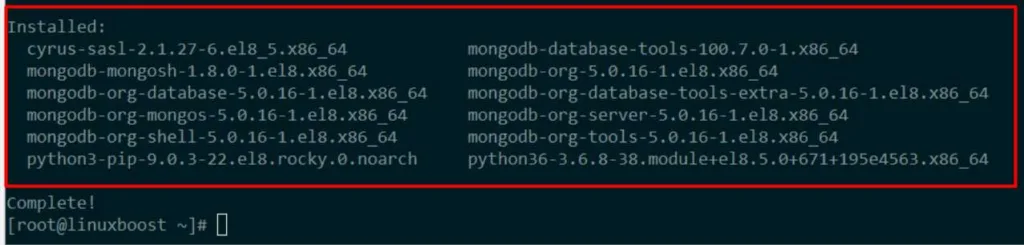
This command installs the latest stable version of MongoDB along with its necessary tools.
Start and Enable MongoDB Service on Rocky Linux
Once the installation is complete, start the MongoDB service using:
sudo systemctl start mongodTo enable the MongoDB service to start automatically on boot, run:
sudo systemctl enable mongodYou can check the status of the MongoDB service with:
sudo systemctl status mongodConfigure MongoDB on Rocky Linux (Optional)
The default configuration file for MongoDB is located at /etc/mongod.conf. You can edit this file to adjust settings like storage, systemLog, and more. For example, if you want to change the default listening IP address or port number, edit the net section:
net:
  port: NEW_PORT_NUMBER
  bindIp: NEW_IP_ADDRESS
Save your changes and restart the MongoDB service to apply them:
sudo systemctl restart mongodTest MongoDB Installation on Rocky Linux
To verify that your MongoDB installation is working correctly, connect to the MongoDB shell by running:
mongoThis command should open the MongoDB shell, where you can execute various MongoDB commands. Try creating a new database, inserting a document, and then retrieving it:
use myNewDatabase
db.myNewCollection.insert({ name: "LinuxBoost", description: "A great resource for Linux enthusiasts" })
db.myNewCollection.find()
If the inserted document is returned, your MongoDB installation is functioning correctly.
Conclusion
Congratulations! You’ve successfully installed MongoDB on Rocky Linux. You can now start building powerful applications using this robust and flexible database system. For more information on using MongoDB, refer to the official MongoDB documentation.
If you’re interested in learning more about other Linux topics, check out some of our other tutorials:


