
In this tutorial, we will be walking you through the process of how to install and configure ProFTPD on Rocky Linux. ProFTPD is a powerful and highly configurable FTP server software that provides secure and efficient file transfer capabilities to your Linux system.
Table of Contents:
- Introduction
- Prerequisites
- Step 1: Update Your System
- Step 2: Install ProFTPD
- Step 3: Configure ProFTPD
- Step 4: Create an FTP User
- Step 5: Configure the Firewall
- Step 6: Start and Enable ProFTPD
- Step 7: Test Your FTP Server
- Conclusion
How to Install and configure ProFTPD on Rocky Linux
Introduction
ProFTPD is a popular, open-source FTP server that provides a reliable and secure way to transfer files between your local system and a remote server. It is widely used by webmasters and system administrators to manage files on their Linux servers.
Before we dive into the installation process, it’s essential to understand the benefits of using ProFTPD on your Rocky Linux system:
- Highly Configurable: ProFTPD offers a vast array of configuration options, allowing you to tailor the server to your specific needs.
- Scalable: Whether you’re managing a small personal site or a large-scale enterprise, ProFTPD can handle the workload with ease.
- Secure: ProFTPD supports various security features, such as SSL/TLS encryption and password authentication, to keep your files safe during transfer.
With that said, let’s get started!
Prerequisites
To follow this tutorial, you will need:
- A Rocky Linux system with sudo privileges
- A basic understanding of Linux commands and the command line
- An installed and configured firewall on your system
Update Your System
Before installing ProFTPD, it’s essential to update your system to ensure you’re using the latest packages and security patches. To do this, run the following command:
sudo dnf update -yInstall EPEL Repository
dnf install epel-release -yInstall ProFTPD on Rocky Linux
Once your system is up-to-date, you can install ProFTPD by running the following command:
sudo dnf install proftpd -y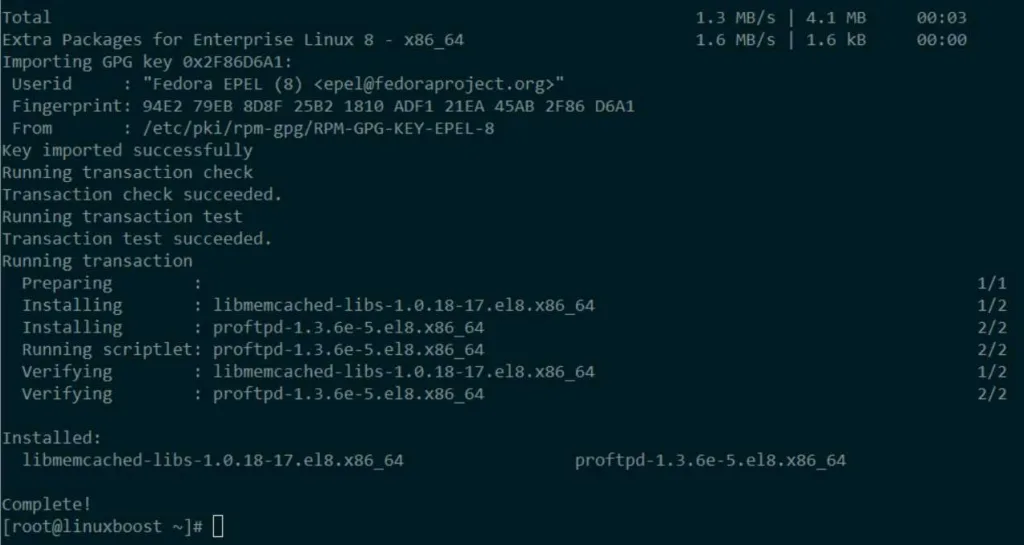
Configure ProFTPD on Rocky Linux
Now that ProFTPD is installed, we need to configure it to suit our needs. Open the main configuration file using your preferred text editor:
sudo nano /etc/proftpd/proftpd.confIn this file, you can configure various settings such as the server name, default port, and more. For this tutorial, we’ll make the following changes:
- Change the
ServerNameto your domain name or server hostname:
ServerName "example.com"Uncomment the line # DefaultRoot ~ to restrict users to their home directories:
DefaultRoot ~Once you’ve made these changes, save the file and exit the text editor.
Step 4: Create an FTP User on Rocky Linux
For security reasons, it is recommended to create a separate user account for FTP access. In this section, we will walk you through creating a new user account and specifying a home directory for this user.
- To create a new user, run the following command (replace
ftpuserwith a username of your choice):
sudo adduser ftpuser- Set a strong password for the new user when prompted.
- Add the new user to the
ftpusersgroup to grant them FTP access:
sudo usermod -a -G ftpusers ftpuser- To set the home directory for the new user, use the following command (replace
/home/ftpuserwith the desired directory path):
sudo usermod -d /home/ftpuser ftpusersudo chown root:root /home/ftpuser
sudo chmod 755 /home/ftpuserConfigure Firewall on Rocky Linux
To allow FTP traffic through the firewall, you need to open the required ports. If you are using firewalld, execute the following commands:
sudo firewall-cmd --add-service=ftp --permanent
sudo firewall-cmd --add-port=49152-65534/tcp --permanent
sudo firewall-cmd --reload
Start and Enable ProFTPD on Rocky Linux
Now that everything is set up, start and enable the ProFTPD service:
sudo systemctl start proftpd
sudo systemctl enable proftpd
Test FTP Connection
To test your new FTP server, you can use an FTP client like FileZilla or connect via the command line:
ftp your_server_nameEnter the ftpuser username and the password you set earlier when prompted. If everything is configured correctly, you should now be connected to your FTP server.
Conclusion
Congratulations! You have successfully installed and configured ProFTPD on Rocky Linux. You can now easily manage files and folders on your server using FTP. To further enhance your server management skills, explore our other articles on how to install and configure Lighttpd on Rocky Linux or how to set up a bridged network for KVM.


