
Fail2Ban is an essential tool for enhancing the security of your Rocky Linux server. It works by monitoring log files and identifying patterns indicative of intrusion attempts or suspicious behavior. Upon detecting a pattern, Fail2Ban actively bans the responsible IP address, thwarting any additional malicious attempts. In this guide, we will walk you through the process of how to install and configure Fail2Ban on your Rocky Linux server.
How to Install and Configure Fail2Ban on Rocky Linux
Prerequisites
Before we begin, make sure your Rocky Linux server is up-to-date by running the following command:
sudo dnf update -yInstall Fail2Ban on Rocky Linux
To install Fail2Ban on your Rocky Linux server, run the following command:
sudo dnf install fail2ban -y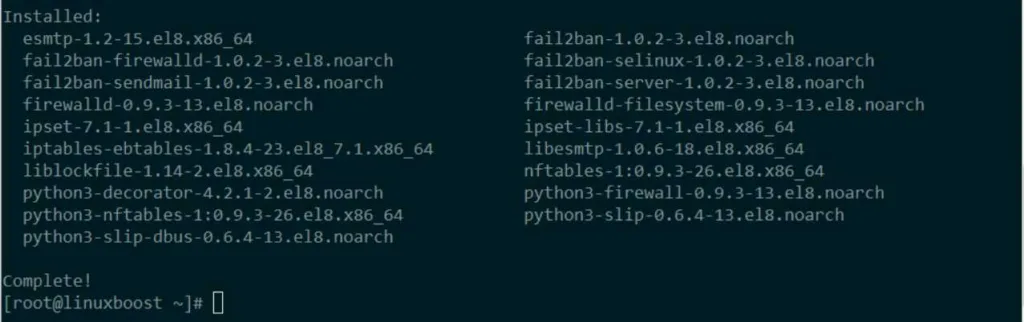
Enable and Start the Fail2Ban Service on Rocky Linux
Once installed, enable and start the Fail2Ban service using these commands:
sudo systemctl enable fail2ban
sudo systemctl start fail2ban
Create a Custom Configuration File
To configure Fail2Ban, you will need to create a custom configuration file. This will prevent your changes from being overwritten during updates. To do this, create a new file named jail.local in the /etc/fail2ban/ directory:
sudo touch /etc/fail2ban/jail.localOpen the file with your favorite text editor (we will use nano in this example):
sudo nano /etc/fail2ban/jail.localNow, let’s create a basic configuration for Fail2Ban. Copy and paste the following content into the jail.local file:
[DEFAULT]
ignoreip = 127.0.0.1/8
bantime = 3600
findtime = 600
maxretry = 5

[sshd]
enabled = true
Here’s a breakdown of the configuration:
ignoreip: A list of IP addresses that Fail2Ban will not ban. In this case, we are ignoring the localhost IP range.bantime: The ban time, specified in seconds, determines the duration an IP address will remain banned. In this example, the ban time is set to 1 hour (3600 seconds).findtime: The time window (in seconds) within which Fail2Ban will count failed login attempts. In this example, the find time is set to 10 minutes (600 seconds).maxretry: The maximum number of failed login attempts allowed within thefindtimewindow before an IP address is banned. In this example, the maximum number of retries is set to 5.[sshd]: This section enables Fail2Ban for the SSH service.
Save and close the file.
Restart the Fail2Ban Service on Rocky Linux
To apply the changes made to the configuration, restart the Fail2Ban service:
sudo systemctl restart fail2banCheck the Fail2Ban Status on Linux
To confirm that Fail2Ban is working and protecting your server, run the following command:
sudo fail2ban-client statusYou should see output similar to this:
Status
|- Number of jail:	1
`- Jail list:	sshd
This indicates that Fail2Ban is monitoring the SSH service.
Configure Firewall (Optional)
If you’re using a firewall like Firewalld or iptables, you should open the necessary ports to allow Fail2Ban to function properly. In most cases, the default SSH port (22) should be open, but you may need to open other ports depending on the services you want to protect.
For Firewalld, use the following commands:
sudo firewall-cmd --permanent --add-port=22/tcp
sudo firewall-cmd --reload
For iptables, use these commands:
sudo iptables -A INPUT -p tcp --dport 22 -j ACCEPT
sudo service iptables saveNote: Replace 22 with the appropriate port number if you’re using a custom SSH port or protecting other services.
Test Fail2Ban on Rocky Linux
To ensure Fail2Ban is functioning correctly, you can simulate a failed login attempt by purposely entering an incorrect password for an SSH connection. After multiple failed attempts (as specified in the maxretry setting), the IP address should be banned.
Use the following command to verify whether an IP address has been banned:
sudo fail2ban-client status sshdKeep Fail2Ban Up-to-Date
Regularly updating your system ensures that Fail2Ban receives the latest security updates and improvements. To update Fail2Ban on Rocky Linux, run the following command:
sudo dnf update fail2banConclusion
By following these steps, you have successfully installed and configured Fail2Ban on your Rocky Linux system. Fail2Ban is a powerful tool that helps protect your server from malicious login attempts and other security threats. By customizing the configuration files and keeping Fail2Ban up-to-date, you can maintain a secure server environment.
For further reading, explore other security tools and practices for Rocky Linux, such as SELinux, Nagios, or Zabbix.


