
MySQL is one of the most popular open-source database management systems used for developing web-based applications. This blog post will guide you on how to install MySQL on your openSUSE system step-by-step. By following these instructions, you can easily set up MySQL and enjoy its powerful features on your openSUSE distribution.
How to Install MySQL on openSUSE 15.1
Prerequisites
Before installing MySQL on openSUSE, make sure you have:
- An openSUSE 15.1 system with root access.
- A stable internet connection.
- Basic knowledge of command-line operations.
Update Your openSUSE System
First and foremost, update your openSUSE system to ensure you have the latest packages installed. Open the terminal and run the following command:
sudo zypper updateAdd MySQL Repository
Now, download the RPM package that sets up the MySQL repository on openSUSE.
wget https://dev.mysql.com/get/mysql80-community-release-sl15-3.noarch.rpm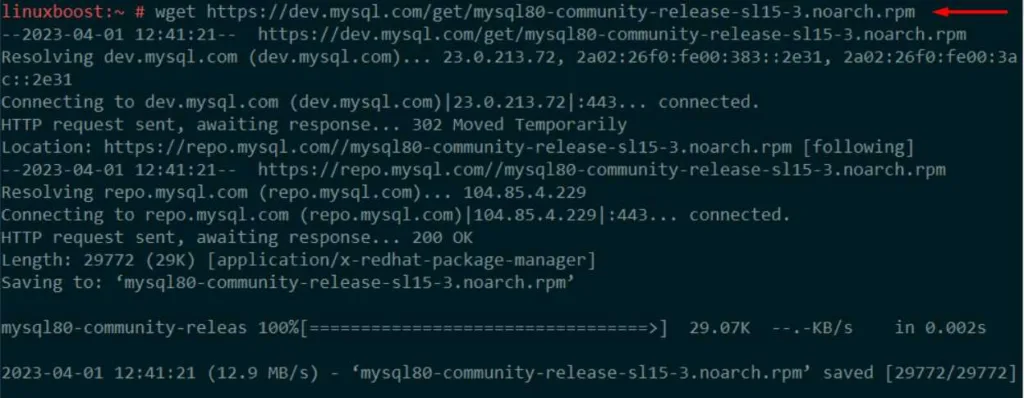
Installing the package.
sudo rpm -ivh mysql80-community-release-sl15-3.noarch.rpmImporting the GPG key for the repository.
sudo rpm --import /etc/RPM-GPG-KEY-mysqlNext, refresh the repository information using zypper.
sudo zypper refreshInstalling MySQL Server on openSUSE
Once your system is updated, you can install MySQL server using the following command:
sudo zypper install mysql-community-serverThis command will install the MySQL server along with its required dependencies. Wait for the installation to complete.
Start and Enable MySQL Service
After installing MySQL server, start the MySQL service using the following command:
sudo systemctl start mysqlTo ensure MySQL starts automatically upon system reboot, enable the service using:
sudo systemctl enable mysqlYou can check the status of the MySQL service with:
sudo systemctl status mysqlSecure MySQL Installation
Secure your MySQL installation by running the following command:
sudo mysql_secure_installationThis script will guide you through a series of questions to improve the security of your MySQL installation. You’ll be prompted to:
- Set a root password.
- Remove anonymous users.
- Disallow root login remotely.
- Remove test databases and access to them.
- Reload privilege tables.
Answer each prompt accordingly to tighten the security of your MySQL installation.
Log in to MySQL
To log in to MySQL server as the root user, run the following command:
mysql -u root -pEnter the root password you set earlier when prompted. You should now be logged in to the MySQL shell.
Create a New MySQL User (Optional)
Creating a new MySQL user with limited privileges is recommended for security reasons. To create a new user, run the following command inside the MySQL shell:
CREATE USER 'new_user'@'localhost' IDENTIFIED BY 'strong_password';Replace new_user and strong_password with your desired username and a strong password, respectively.
Grant the new user necessary privileges on a specific database with:
GRANT ALL PRIVILEGES ON database_name.* TO 'new_user'@'localhost';Replace database_name with the name of the database on which you want to grant privileges. To apply the changes, run:
FLUSH PRIVILEGES;Now you can exit the MySQL shell using:
EXIT;Conclusion
Congratulations! You have successfully installed MySQL on your openSUSE system. Now you can use MySQL to manage your databases and build powerful web applications.
In conclusion, installing MySQL on openSUSE is a straightforward process that involves a few simple steps. Firstly, you need to update your openSUSE system, followed by adding the MySQL repository. Subsequently, you can install the MySQL server package and start the service. Moreover, it is crucial to secure your MySQL installation and test the connection to ensure everything is working correctly. Finally, you can manage the MySQL service using various systemctl commands. By following this guide, you will have a functional MySQL server on your openSUSE system, ready for use in your web applications and software solutions. For more guides on openSUSE, check out the following articles:


