
Git is a widely-used, open-source distributed version control system that allows you to manage and track changes to your codebase. In this comprehensive guide, we will walk you through the steps on how to install Git on AlmaLinux, a popular RHEL-based Linux distribution.
How to Install Git on AlmaLinux
Table of Contents
- Introduction to Git
- Prerequisites
- Step-by-Step Installation Guide
- Update Your System
- Install Git
- Configure Git
- Basic Git Usage
- Conclusion
- Additional Resources
Introduction to Git
Git is an essential tool for developers and system administrators who need to manage code repositories and collaborate on projects. It was created by Linus Torvalds, the creator of the Linux kernel, and has since become the most popular version control system globally. Git allows you to track changes in your code, collaborate with other developers, and easily revert to previous versions if needed.
If you are new to Git, check out our Top 50 Basic Linux Commands with Examples to familiarize yourself with the Linux command line.
Prerequisites
Before you begin, you will need:
- An AlmaLinux system (physical or virtual)
- A user account with sudo privileges
Step-by-Step Installation Guide
Follow these steps to install Git on your AlmaLinux system:
Update Your System
Before installing any new software, it’s always a good idea to update your system to the latest version. Run the following commands to update your AlmaLinux system:
sudo dnf update -yInstall Git
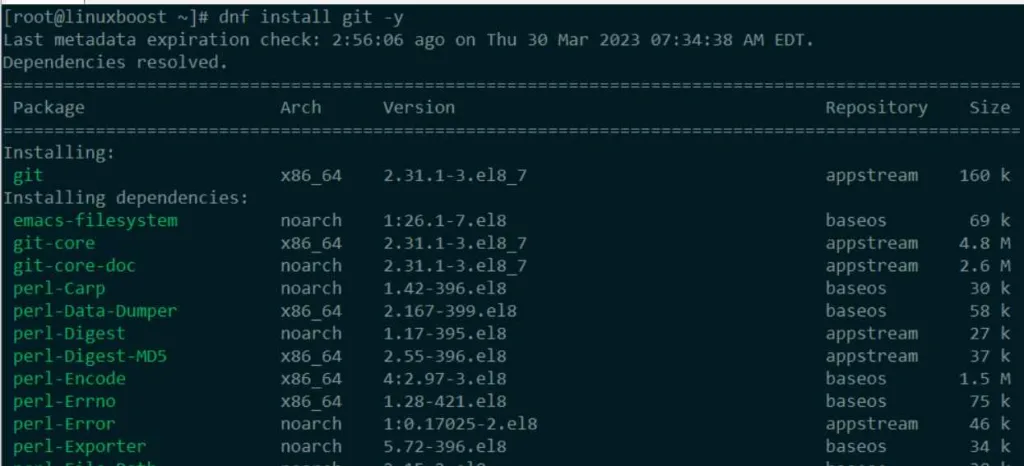
To install Git, simply run the following command:
sudo dnf install git -yThis command will download and install Git and all its dependencies.
Configure Git
After installing Git, you need to configure your user name and email address to associate your commits with your identity. Run the following commands to set your user name and email address:
git config --global user.name "Your Name"
git config --global user.email "[email protected]"
You can verify your Git configuration by running:
git config --list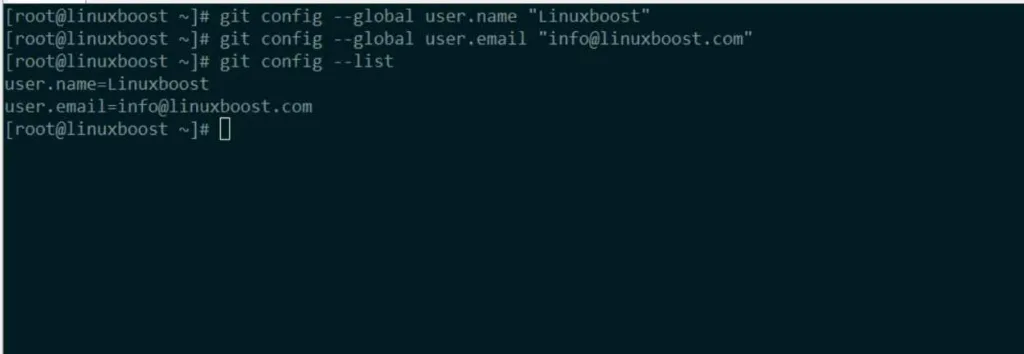
This command will display your current Git configuration, including your user name and email address.
Basic Git Usage
Now that you have installed and configured Git, you can start using it to manage your code repositories. Here are a few basic Git commands to get you started:
git init: Initialize a new Git repository in the current directorygit clone <repository>: Clone an existing Git repositorygit add <file>: Stage a file for commitgit commit -m "Commit message": Commit the staged changes to the repositorygit status: Show the status of your working directorygit log: Show the commit history
To learn more about using Git, visit the official Git documentation.
Conclusion
Congratulations! You have successfully installed Git on your AlmaLinux system. Git is an indispensable tool for developers and system administrators alike, allowing you to manage and track changes to your codebase with ease. Be sure to explore the additional resources below to further enhance your Git knowledge.
Additional Resources
- How to Install and Configure FTP Server on AlmaLinux 2. How to Automate System Administration Tasks in AlmaLinux
- How to Change SSH Port and Open Firewall on AlmaLinux
- How to Install cPanel on AlmaLinux 8
- How to Install PPTP VPN Server on AlmaLinux
By exploring these additional resources, you can further enhance your understanding of AlmaLinux and its various applications. Additionally, you can learn how to configure and manage other essential services on your AlmaLinux system to optimize your experience.


