
Git is an essential tool for developers and system administrators alike. It is a free, open-source distributed version control system that allows you to manage and track changes in your source code easily. In this article, we will walk you through a step-by-step guide on how to install Git on openSUSE.
Before we begin, you may want to explore installing other essential tools and services on openSUSE:
- How to Install phpMyAdmin on openSUSE
- How to Install PHP on openSUSE
- How to Install Nginx on openSUSE
- How to Install Apache on openSUSE
- How to Install Python on openSUSE
How to Install Git on openSUSE
Update Your System
Before installing any new software, it is always a good idea to update your system. To update your openSUSE system, run the following command:
sudo zypper updateInstall Git on openSUSE
Now that your system is up to date, you can proceed with the installation of Git. To install Git on openSUSE, execute the following command:
sudo zypper install git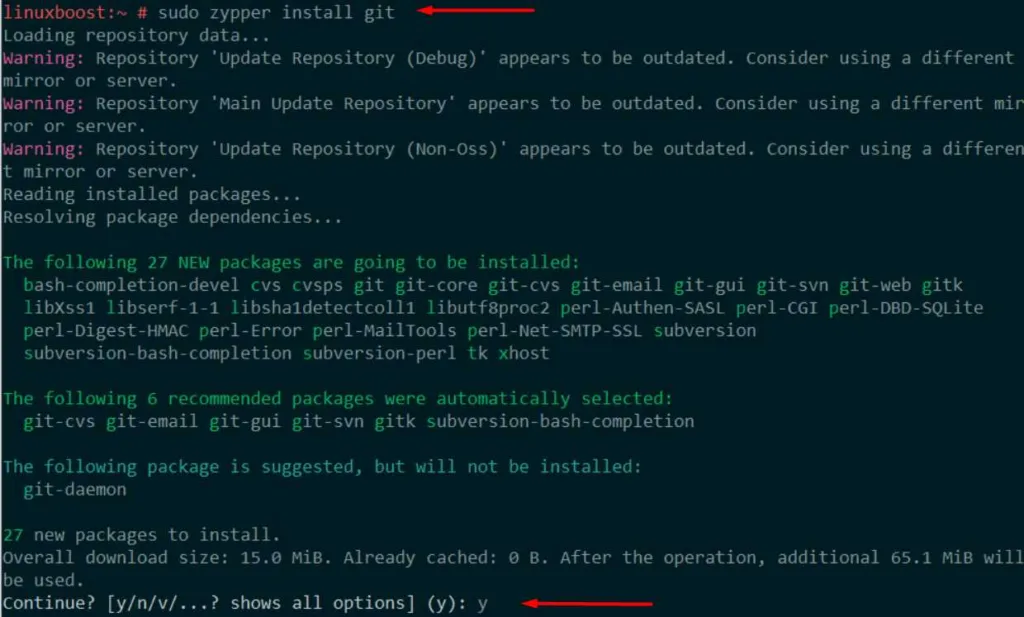
Wait for the installation process to complete. Once finished, you can verify that Git has been installed correctly by checking its version:
git --version
You should see the installed Git version displayed in the terminal.
Configure Git
After installing Git, we recommend configuring your user information, such as your name and email address. Your commits will be associated with this information. To set your user name and email address, run these commands:
git config --global user.name "Your Name"
git config --global user.email "[email protected]"
You can also configure other Git settings, such as your preferred text editor and diff tool. To set your preferred text editor, run:
git config --global core.editor "vim"Replace "vim" with your preferred text editor, such as "nano" or "emacs".
Create a Git Repository
With Git installed and configured, you can now either create a new Git repository or clone an existing one. To create a new repository, navigate to your desired directory and run:
git initThis command initializes an empty Git repository in the current directory.
To clone an existing repository, use the following command:
git clone https://github.com/username/repository.gitReplace https://github.com/username/repository.git with the URL of the repository, you want to clone.
Basic Git Commands
Here are some basic Git commands to help you get started:
git status: Displays the status of your working directory, including any changes made.git add <file>: Adds a file to the staging area.git commit -m "Commit message": Commits the staged changes with a descriptive message.git push: Pushes your committed changes to the remote repository.git pull: Fetches the latest changes from the remote repository and merges them into your local branch.
For more Git commands and their explanations, consult the official Git documentation.
Working with Remote Repositories
When working with remote repositories, such as GitHub or GitLab, you’ll need to configure your remote repository’s URL. To add a remote repository, run:
git remote add origin https://github.com/username/repository.gitReplace https://github.com/username/repository.git with your remote repository’s URL. The remote repository is now referred to as origin.
To push your changes to the remote repository, execute:
git push -u origin masterThis command pushes your changes to the master branch of the origin remote repository. Replace master with the name of the branch you want to push if you’re using a different branch.
Branching and Merging
Git allows you to create branches to work on different features or bug fixes independently. To create a new branch and switch to it, run:
git checkout -b new-branch-nameReplace new-branch-name with the desired name for your new branch.
To switch back to the master branch, execute:
git checkout masterOnce you have finished working on a branch, you can merge it into the master branch by running:
git merge new-branch-nameThis command merges new-branch-name into the current branch, which should be master if you’ve followed the previous steps.
Resolving Merge Conflicts
When merging branches, you may encounter merge conflicts if there are conflicting changes between the two branches. Git will indicate that there’s a conflict and point you to the affected files.
To resolve merge conflicts, open the affected files in your text editor and look for conflict markers (<<<<<<<, =======, and >>>>>>>). Edit the file to remove the conflict markers and keep the desired changes. Save the file and stage it with git add <file>.
Once all conflicts have been resolved, commit the changes using git commit -m "Resolved merge conflicts" and push the merged changes to the remote repository.
That’s it! You have now successfully installed and configured Git on openSUSE. You are ready to start managing your source code and collaborating with your team more effectively. For more tutorials and guides on openSUSE and other Linux distributions, visit Linux Boost.


