Bind is an open-source and widely-used DNS server that helps you to resolve IP addresses to domain names and vice versa. It is crucial for a stable and secure internet experience, and Rocky Linux is an excellent platform to host your Bind DNS server. In this tutorial, we will walk you through the process of how to install Bind DNS server on Rocky Linux.
Prerequisites
Before we begin, make sure you have the following:
- A Rocky Linux system with root access or a user with sudo privileges
- A stable internet connection
- Basic knowledge of Linux commands
How to Install Bind DNS Server on Rocky Linux
Step 1: Update the System and Install Bind
First, update your Rocky Linux system by running the following command:
sudo dnf update -yNext, install Bind and its utilities using the following command:
sudo dnf install bind bind-utils -y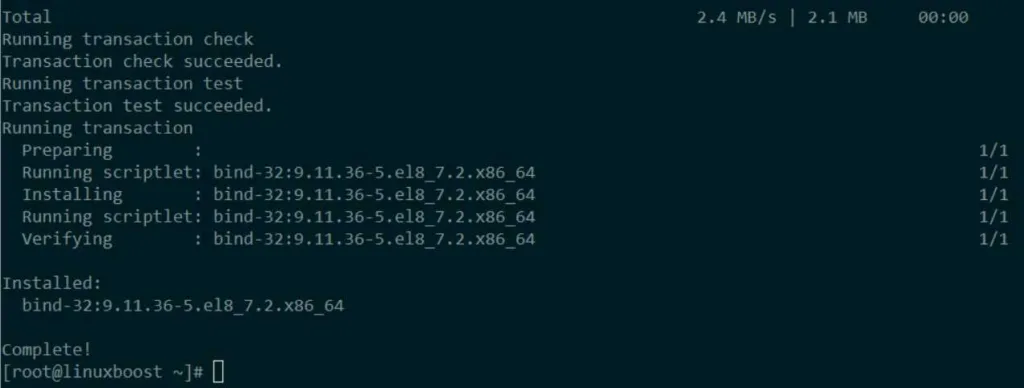
Step 2: Configure Bind DNS Server on Rocky Linux
After installation, navigate to the Bind configuration directory:
cd /etc/namedCreate a backup of the original configuration file before making any changes:
sudo cp named.conf named.conf.backupEdit the configuration file with your preferred text editor, such as vim or nano. In this example, we will use vim
sudo vim named.confModify the options section by adding the following lines:
options {
    listen-on port 53 { any; };
    directory   "/var/named";
    dump-file   "/var/named/data/cache_dump.db";
    statistics-file "/var/named/data/named_stats.txt";
    memstatistics-file "/var/named/data/named_mem_stats.txt";
    allow-query { any; };
    recursion yes;

    dnssec-enable yes;
    dnssec-validation yes;
    bindkeys-file "/etc/named.root.key";

    managed-keys-directory "/var/named/dynamic";
    pid-file "/run/named/named.pid";
    session-keyfile "/run/named/session.key";
};
Save and exit the file.
Step 3: Start and Enable Bind DNS Server
Start the Bind DNS server using the following command:
sudo systemctl start namedTo enable the Bind DNS server to start automatically during system boot, run:
sudo systemctl enable namedStep 4: Configure Firewall
Allow DNS traffic through the firewall by running the following commands:
sudo firewall-cmd --add-service=dns --permanent
sudo firewall-cmd --reload
Step 5: Test DNS Server Functionality
To test your newly-configured Bind DNS server, use the dig command. Replace example.com with a domain of your choice:
dig @localhost example.comYou should see a response containing the IP address associated with the queried domain name.
Conclusion
Congratulations! You have successfully installed and configured a Bind DNS server on Rocky Linux. This powerful tool will help you maintain a stable and secure internet experience for your network.
For more information on how to further configure and manage your Bind DNS server, visit the official Bind documentation.
Be sure to explore other LinuxBoost guides, such as how to install VirtualBox on Rocky Linux.


