
Are you looking to manage your servers with ease? Look no further! Ansible is a powerful IT automation tool that simplifies complex tasks and enables users to manage multiple systems simultaneously. In this article, we will guide you through the process of how to install Ansible Server on Rocky Linux, a reliable and powerful Linux distribution.
Prerequisites
Before we dive into the installation process, please ensure that you have the following:
- A system running Rocky Linux.
- Root or sudo access to the system.
How to Install Ansible Server on Rocky Linux
Update Your System
First and foremost, update your system to the latest version by running the following command:
sudo dnf update -yInstall the EPEL Repository
Ansible is available in the Extra Packages for Enterprise Linux (EPEL) repository. Install the EPEL repository by executing the following command:
sudo dnf install epel-release -y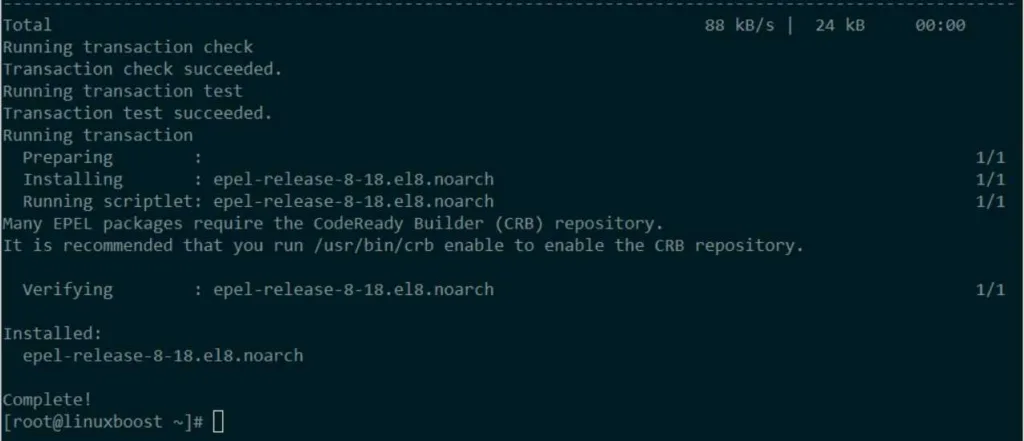
Install Ansible on Rocky Linux
Now that the EPEL repository is installed, you can install Ansible using the following command:
sudo dnf install ansible -y
Verify Ansible Installation
Once the installation is complete, verify that Ansible is installed correctly by running:
ansible --version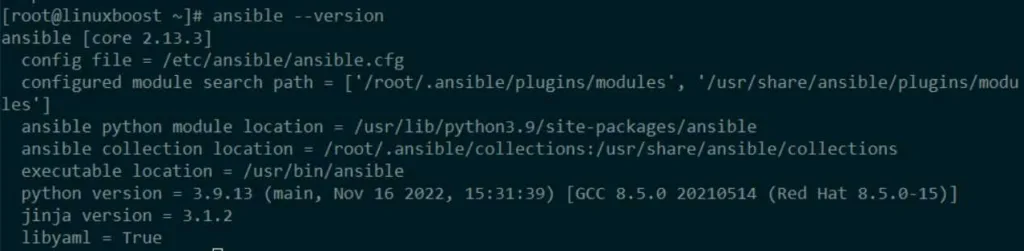
This command should display the Ansible version, along with other configuration details.
Configure Ansible
After installing Ansible, you need to configure it to manage your servers. Ansible uses an inventory file, which lists the managed hosts and their groups. By default, the inventory file is located at /etc/ansible/hosts.
Edit the Inventory File
Open the inventory file using your favorite text editor, like vim:
sudo vim /etc/ansible/hostsAdd your remote servers’ IP addresses or hostnames to the inventory file, as shown below:
[group_name]
192.168.1.10
192.168.1.11
Save and close the file.
Set Up SSH Key-Based Authentication
Ansible communicates with managed hosts via SSH. To set up key-based authentication, generate an SSH key pair on the Ansible server:
ssh-keygenThen, copy the public key to the remote servers using the ssh-copy-id command:
ssh-copy-id [email protected]
ssh-copy-id [email protected]
Replace user with the appropriate remote server’s username.
Test Ansible on Rocky Linux
To ensure Ansible is correctly configured and can communicate with the remote servers, run a simple command like ping:
ansible -m ping allIf the configuration is correct, you should see a successful ping response from the remote servers.
Conclusion
You’ve now successfully installed and configured Ansible Server on Rocky Linux! You can use Ansible to manage various tasks, such as setting up RAID arrays, installing KVM virtualization, or installing and configuring BIND DNS server. As you continue exploring Ansible, you’ll find that it’s a versatile tool that can simplify complex tasks and streamline your server management.
Additional Ansible Resources
To further enhance your Ansible knowledge and capabilities, consider exploring the following resources:
- Ansible Playbooks: Playbooks are essential components of Ansible, which allow you to automate tasks by describing the desired state of the system in a YAML file. Learn how to write and use playbooks to manage configurations and automate tasks.
Common Ansible Use Cases
Here are some common use cases where Ansible can be a game-changer for your server management:
- Configuration Management: With Ansible, you can maintain consistent configurations across multiple servers. This ensures that your infrastructure is always in the desired state and compliant with your organization’s policies.
- Application Deployment: Ansible simplifies the process of deploying applications on servers. You can automate complex deployment tasks, reducing the chance of human error and speeding up the overall deployment process.
- Security Automation: Use Ansible to automate security tasks, such as updating software packages, managing firewall rules, and enforcing security policies. This will help you maintain a secure environment and respond to threats more efficiently.
Now that you have Ansible Server installed on Rocky Linux and are familiar with its potential use cases, you can start exploring the world of IT automation. With Ansible, you’ll save time, reduce errors, and improve the overall efficiency of your server management tasks. Happy automating!


